A simple yard layout guide for arranging mixer access, machine position, pallet movement, curing space, and loading flow before production starts.
May 3, 20262 min readFactory Operations
A simple yard layout guide for arranging mixer access, machine position, pallet movement, curing space, and loading flow before production starts.
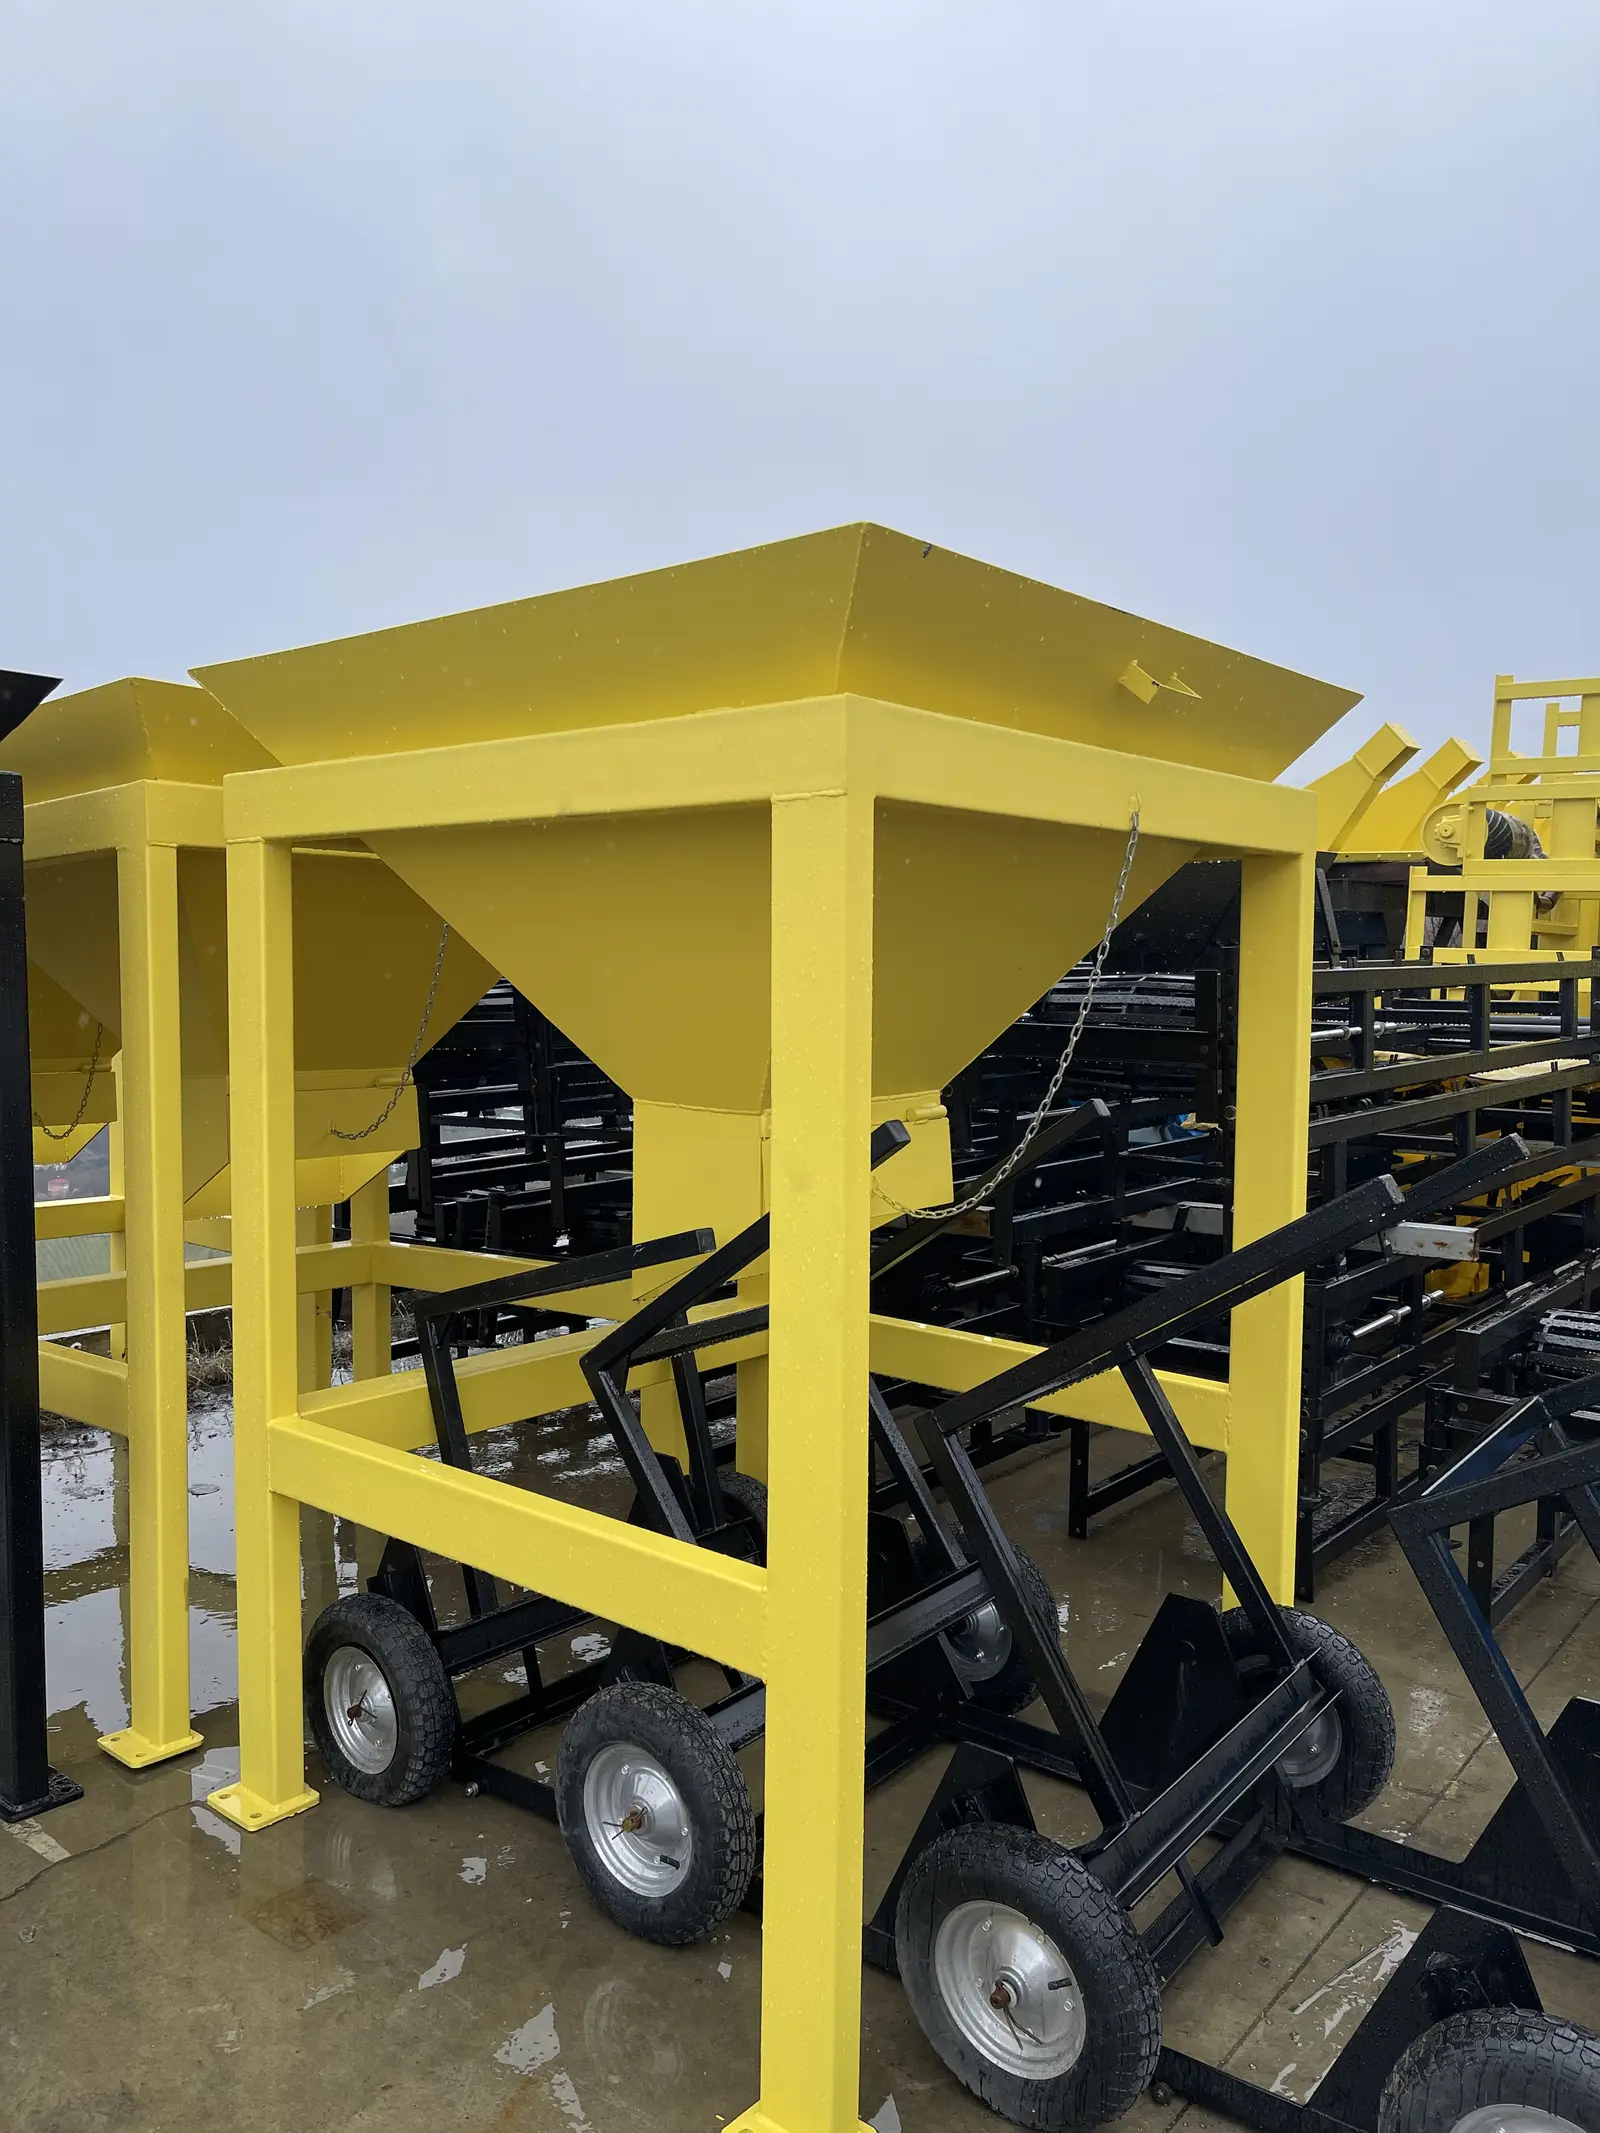
A good block yard layout does not need to be complicated, but it must respect movement. Most early problems come from placing the machine, mixer, pallets, curing area, and loading point without thinking about how people and materials will move during a full working day.
Start with the machine position. The operator needs clear access, the mixer must feed the workflow without long delays, and finished products need a short route to the curing area. If every pallet travels too far, the team loses time even when the machine itself is working correctly.
The curing area should be planned before the first production day. New yards often underestimate how much space wet products require. Blocks need to sit in an orderly way so they can cure, be counted, and be moved without damage. A narrow or messy curing area can reduce real output more than expected.
Material storage also matters. Cement, aggregate, sand, water access, and additives should be close enough for efficient mixing but arranged safely enough to keep the work area clean. A clean yard supports better quality control because the team can spot problems faster.
Finally, think about trucks. Loading should not block daily production. If a customer pickup stops pallet movement or mixer access, the whole yard slows down. Even a basic layout sketch can prevent this.
The best first yard layout is the one that keeps people, pallets, material, and finished products moving in simple loops. Simple loops create calmer production days.
Comments
0 comments